Showing posts with label tutorial. Show all posts

EASTER CARDS & ART WALK I BACKING A CUT FILE

welcome to a super fun and easy spring/easter card idea you are sure to love.  whenever i post cards i always feel the need to preface my posts and say that i truly do not consider myself a "card maker".  however i am always amazed at just how easy it can be to look like quite a skilled card maker with the right supplies in hand.  it truly makes all the difference and makes it so easy to create something that looks fabulous!


i wanted to create some fun spring inspired / easter cards using my favourite papers from the heidi swapp art walk paper pads.  this collection is a favourite of mine for many reasons.  i think the top one is that it is full of gorgeously bright designs that make any project pop!  there is also a touch of mixed media to the collection which always adds a beautiful visual and presentation.  because these paper pads already come made with the mixed media pages, i am loving that even more! i do not have to neither create nor clean up any (additional) mess haha. 

i recently purchased an electronic die cutting machine, so to create my eggs i just searched out an egg template cut file and had it cut out of white cardstock.  i want to use the 6x8 art walk papers to back my eggs giving them a beautiful design.  i then chose to matt the eggs onto the coordinating solids from the 12x12 paper pad...which i have adhered to basic white card stock cards.


isn't it just amazing how such a basic technique can transform into something that looks like it took hours to create?


i used this amazing new set of stamps from tim holtz to add the sentiments to my cards, i just love them so much.  i also love the additional ink i applied to the background using coordinating colors of inks using the splatter stamp found in this same set.


see? so simple. yet pretty and perfect and looks like it took literal hours when it was nothing but minutes.  got to love a good combo when you find one. 


add cards into gift baskets, easter goodies and treats.  truly the sweetest finishing touch.

0

DIY CAKE TOPPER HOW TO I MINC PROJECT PAD

today i want to share a little "how to" on how easy it can be to create a custom foiled cake topper for a special occasion you may have coming up this summer.

i was lucky enough to be asked to help out a fellow friend with the graduation celebration of her niece, and i knew exactly what i could do for her!

the plan was that she needed a graduation cake topper.
immediately my mind went straight to my electronic cutting machine and heidi swapp minc!
let the magic begin!

step 1.  enter the minc surface paper pad.
what is fabulous about this paper pad is that in one pad, there are 3 different surfaces that work with the minc in order to achieve beautiful foiled projects.  there are toner sheets, vellum sheets and glue sheets.

for my cake topper, i began by cutting out a graduation design from the silhouette design studio using my cutting machine.  i cut out the design from the black toner paper. 


my silhouette cut out the design just beautifully out of the black toner paper.  remember, the black toner paper is completely reactive to the minc heat reactive foil.  what is all black will be covered in foil once run through my minc.


nothing speaks graduation more perfectly than minc gold star foil.  this new foil release has to be one of my favourites and was truly the perfect choice when creating my cake topper.


and for the big reveal.  who does not love a beautiful pull back image of minc magic?
it is just stunning each and every single time.
truly never gets old.


i really love how beautiful this project turned out.
when my friend sent me this beautiful photo of her cake complete with the graduation foiled 2020 on top, it made me so very happy!

i know for many this year graduation celebrations took a much different turn this year.  

nonetheless everyone still chose to enjoy, honour and celebrate their graduates the best way they could!  i am really happy that i could help out in some small way.

what an absolutely beautiful cake!


my biggest congratulations to all the incredibly resilient 2020 graduates!
0

DIY BLESSINGS GRATITUDE ALBUM

today i want to share a very simple and easy DIY to create a gorgeous interactive gratitude mini album with the heidi swapp honey and spice collection that makes a great keepsake.  whether you fill it with photos, journaling, favourite thoughts from the month or if you are hosting a thanksgiving dinner, try having your guests handwrite their gratitudes inside.  just think what a treasure this will be all filled up with the best of the best!


to create my cover, i first had my laser printer print out this heidi swapp handwritten 'blessings' freebie onto a piece of honey and spice pattern paper.  you can find the freebie here.

i laid a piece of rose gold minc foil on top and ran through my minc on heat setting 3.


always so beautiful.  i just love how this turned out for my cover.


next, find a piece of chipboard and trim to your desired size.  you can make this book any size you want....mine is just under 4x6 size.

cover the chipboard pieces with the patterned paper.


for the inside of my mini book i created a bunch of openable envelope pockets, tags and included tags from this honey and spice tag set.  this way it allows me a ton of options to add in photos, journaling and notes that i want to collect.  i also love the interactivity of it all.


using my heidi swapp we r memory keepers cinch i punched all of my inside pages.


the first step to binding a book using the cinch is to layer all of your inside pages starting with the last album page and ending with what will be your first page.


then add your album front cover face up and then the back cover on top face side down.  make sure the back of the back cover is facing your front cover because when you flip it around that will be what side you will see.


place onto the binding side of your cinch and push down.


voila! a beautifully professionally bound keepsake album ready to go.  the cinch truly is one of my most favourite tools.


and how about that minc shine?!


i love how it fits easily in the palm of my hand.


i cannot wait to fill my album up with all the things.


here in canada we have already officially celebrated our thanksgiving, but for those of you who are looking forward to celebrations this week i hope i have inspired you to make create your own version of a gratitude mini book that you can share with your family and friends.  


0

COLOR FRESH & MINC I MIXED MEDIA SCRAPBOOK LAYOUT

today i am sharing my latest layout with you all.
i created this fun 12x12 page using a few 'mixed media' type techniques involving my minc machine.
i love using my minc machine, especially when it comes to experimenting with projects!

for this page i wondered to myself what would happen if i took a cut file (this is a paige evans butterfly silhouette cut file i cut out of scrapbook paper using my silhouette machine), some minc reactive mist which i applied on top of the cut file with a generic make up applicator sponge.


to do this technique open your reactive mist and pour a small amount onto a craft plate.


take your sponge and apply a small amount to the sponge.  not too wet, just enough to apply a nice even layer onto your paper.


dab the sponge on top of the cut file.

the idea is you are wanting the reactive mist to provide a stencilled image once the paper cut file is removed.

 it is important that you do this technique quickly and efficiently otherwise i found my paper cut file wanted to "stick" to my background page as the mist dried.

you do not want to use a lot of mist when applying your sponge onto the cut file...less is more i find and when using less it takes a lot less drying time.

so be sure to be quick so it does not stick!


once my page was fully dried (very important!) i ran it through my minc machine on heat setting 3 using this gorgeous new silver holographic foil.


once i removed the foil and transfer folder you can see the gorgeous design that was created!  a subtle holographic design of the butterflies.  i really love how it turned out!  its subtle yet eye catching.


now to finish my page!


i added all elements of the heidi swapp color fresh paper collection to create my page and added on my type text journaling using my we r memory keepers typecast.


i used this super adorable 12 x 12 good vibes transparency paper as an over lay on top of my page.  it really looks awesome over top the minc'ed butterflies!


i am super happy with how this page turned out and i love the overall vibe.
the minc is such a great tool to use when wanting to add subtle and/or bold techniques to scrapbooking pages.  it certainly was a super easy technique and i will definitely be trying it out on other pages of mine in the future.  it sure will be fun to see how this concept looks when using other colors of foil.


be sure to check out all things heidi swapp minc and color fresh right now!
they truly make the perfect creative collab xo.

0

MEMORY PLANNER I JUNE

today i want to share my june 2019 month at a glance memory planner page with you.
i also want to share some game changing information as well.
but first...question.
do you ever get frustrated when you get your hands on a fabulous new crafting product but it just never seems to work for you?
well...that has been me for SO long! 
i hate to admit it but it is 1000% true.

first off...i love working in my heidi swapp memory planner.
like LOVE IT.
i also love adding photos...
so when i got my hands on the heidi swapp photo sticker sheets my excitement could not be contained.
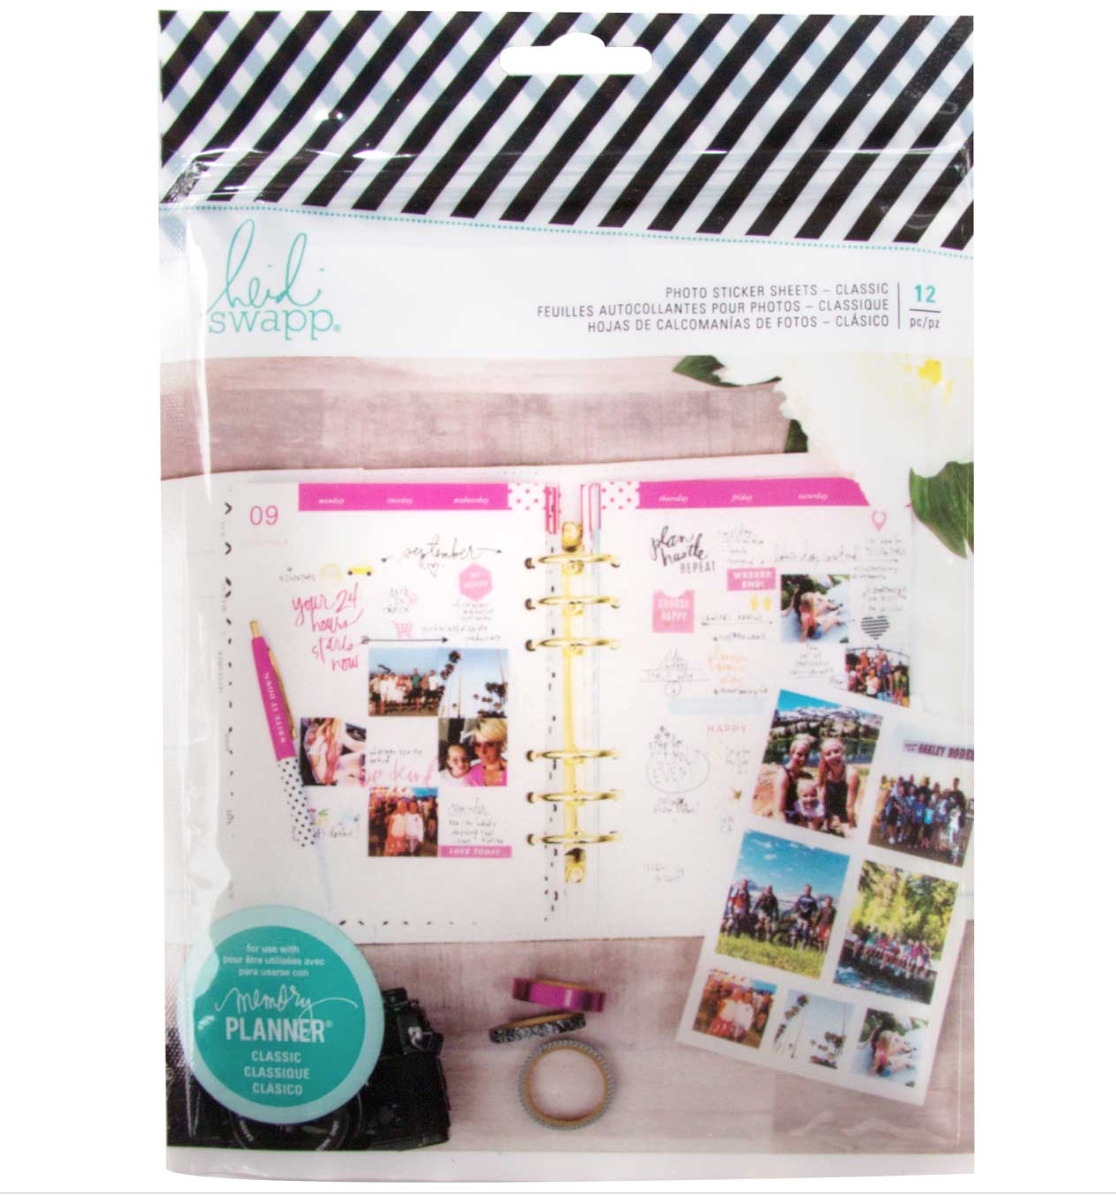
they are made to fit the templates of the planner so that you basically just print your photos on the photo sheets and because they are STICKER PHOTO SHEETS you are able to pop them right in...no adhesive required!

however...for the longest time i could NOT get them to work properly for me.
i was super bummed.

BUT....thankfully the other day heidi swapp and her daughter did an amazing step by step tutorial on instagram stories that solved my issues and changed the game for me entirely.
so....i thought i would not only share my brand new monthly spread but i would also outline their steps so that you could have a reference if you have been curious, or had the same issues as me OR would just love to learn something that is so fabulous, fun and EASY!
ok...let's go!
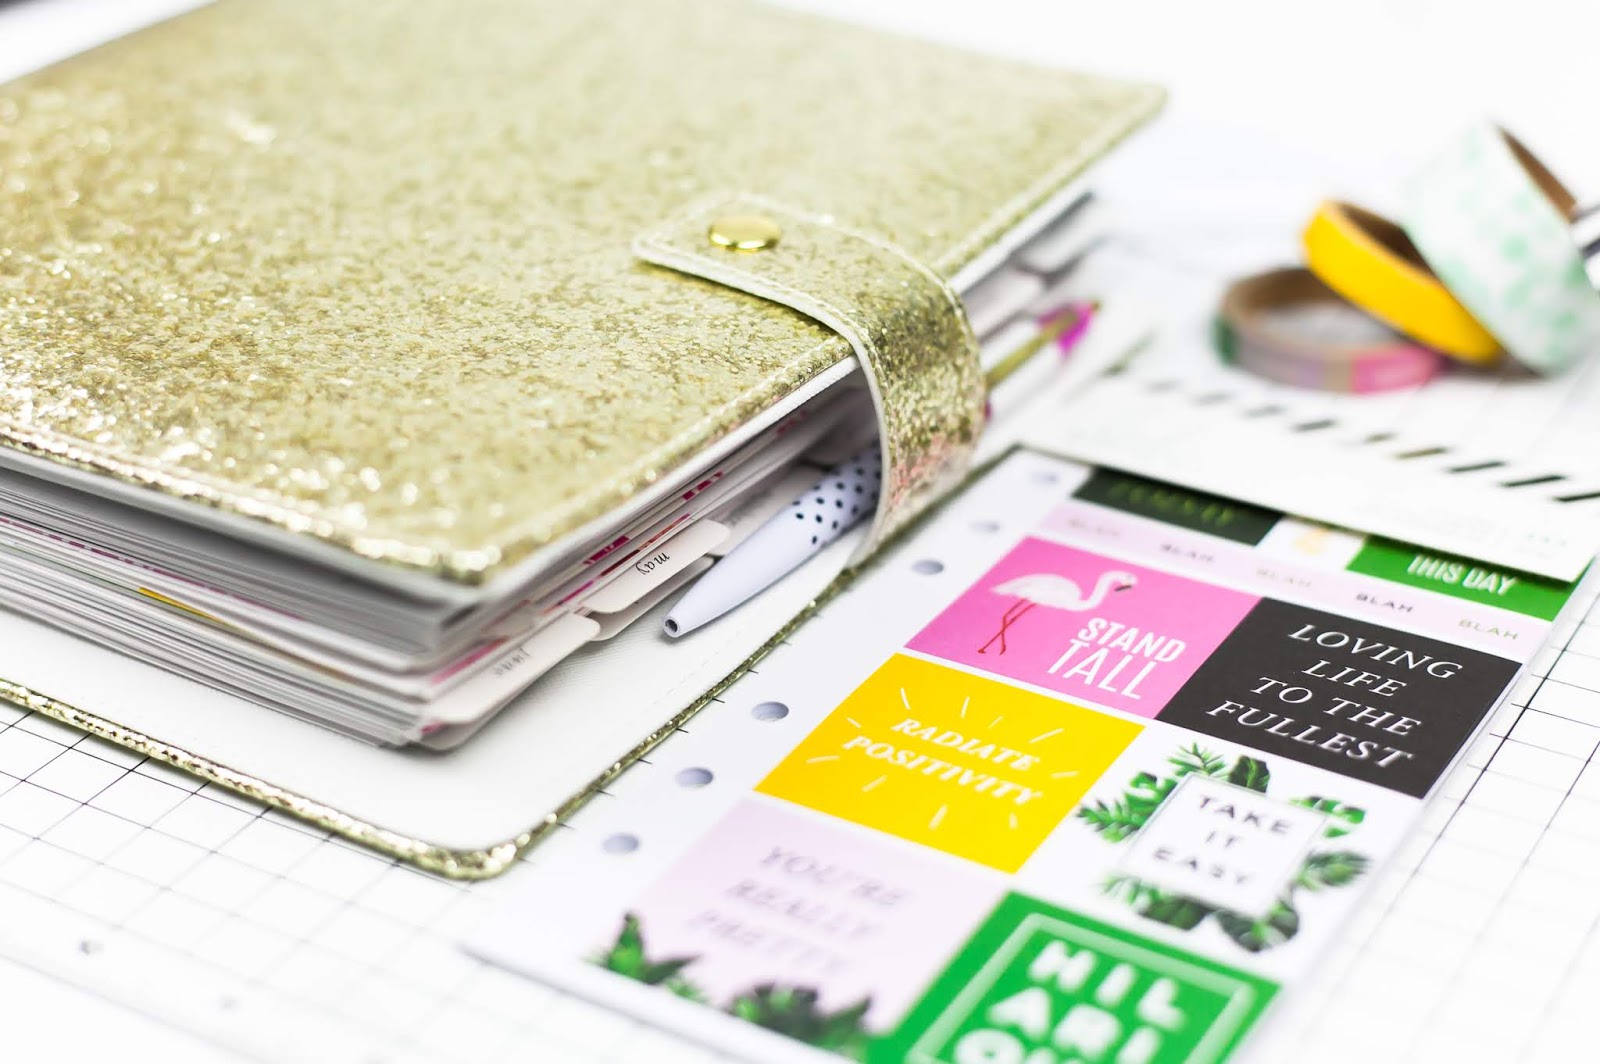


so this is the planner i am using.
you can find this planner right now at joann stores and joann online in the heidi swapp boutique aisle.
i love working with the 6x8 size myself and for this post i am using the 6x8 classic size photo sheets (but there are also personal size photo sticker sheets that work fabulous in the classic size planner too....personally i love to mix and match all the photo sizes in all of my different sized planners).


photos are such a fun way to not only memory keep and "highlight" but they look so awesome gracing the dates of the calendar.


the templates fit the calendar perfectly and i just love it!

OK...so let's talk printing the photos.
to begin you will need to read through these instructions.

***my tutorial here is showing how to use these templates with the PAGES APP on my iPhone ONLY (not the photoshop method) . so you will need to refer to the pages instructions only...not the photoshop ones if you are wanting to do it the way i am doing it on my phone and in this tutorial***


Step 1: Open your desired template in the pages app and you will see this screen come up.


Step 2: Touch the photo square you are wanting to insert a photo into first.  You will see boxes appear to show your desired box.


Step 3: Touch the paintbrush tool on the top screen and on the bottom of your phone you will see the 'replace' option.  Choose that and then your albums will pop up allowing you access to your camera roll.


Step 4: Open your camera roll and choose your desired photo


Step 5: Your photo will appear in the box that had the blue dots around it.  Repeat the same steps over for each box.


Step 6: Once all the boxes are filled you can print!  Touch the 3 dots in the top right hand corner and it will bring you to another screen.


 Here you can see all of your options...including to print.


Once you select your printer the print button will highlight (in top right hand corner) and your photos will be yours!


I use the Epson PM-400 printer and LOVE IT. Highly recommend!  however these photo sticker sheets will work with any printer that prints a 5x7 sticker sheet size.

I hope you try out this method as it really helped me SO SO much! Before I could never get the photos to print and/or work the template as easy as this!  this literally has changed everything for me and has sped up the photo printing process ten fold. i am SO grateful and i never realized how easy it was to use these photo sticker sheets till now!


thank you Heidi and Quincy for bringing this much needed conversation to life!

remember everything i shared here (excluding printer) can be found right now at joann stores and joann online!


0
Back to Top