Showing posts with label mini book. Show all posts

HOW TO DIY I USE BOXED CARDS TO CREATE AN ACCORDIAN MINI ALBUM

say hello the easiest mini album around, all thanks to the beautiful cards you can find in the heidi swapp old school boxed cards set!  yes...use these pre made cards to create a fabulous interactive mini in no time at all. it is such an easy project!


i wanted a place to document and capture the pictures of my son's first day of school, and since i could not pick which photo i wanted, i decided to include them all into this project.  i wanted something super quick 
and easy, yet fun and interactive at the same time.  this is where i decided to use the boxed card set.  


compiling the album is super easy!  simply choose your desired cards and fold them accordion style, overlapping one card to another so that it folds together and apart seamlessly.  you will probably have a few blank sides depending on your folds.  if you do, you can either choose to keep them blank or trim another card and just adhere the pattern over top.


next to embellishing.  it really is a blank canvas.  i loved adding in embellishments and journaling.  creating small pockets and fitting cute tags inside is one of my favourite ways to add details these day.


layering and adding different sentiments onto a card, mixed in with some stamping fun is another way i added in extra details.  i loved adding these messages to this project.  they are perfect for a kiddo starting grade one!


i hope you are inspired to get your hands on a set of these boxed cards and let your imagination run wild.  they are such a versatile and great set that not only lend themselves to fabulous card making, but to mini albums as well.  


0

3 I CREATE A STORYLINE CHAPTERS TITLE PAGE

starting on a new storyline chapters notebook is always so much fun.
i love how each notebook can hold so many different stories, themes, ideas and creative possibilities.
i want to share today how i created a simple and pretty title page for my newest album entitled: 3.


this album is dedicated to all of my daughters stories as a 3 year old.  so to begin, i decided to create a title page for the first page of the album.  to do this i used an enlarged photo, so it would be the focus.  i added some fun and simple layered embellishments in the corners.  as well as the date of the photo on the top corner tag, which is essential of course.  the storyline project pads are amazing for this as well because they are already perfectly sized to match up with the notebooks.


i love the lemon trend and this 'oh happy day' tag is probably one of my most favourites from the set.


a simple stitched and dated tag is the perfect compliment to guiding this notebook as it will hold all of the stories already told and yet to be told as we embark on a brand new trip around the sun.


sometimes i will admit the blank notebooks can appear a bit intimidating and daunting as to where to start.  i find that creating title pages really helps not only get the creative process in action, but it is a great starting and focus point on where to go from here.  and it just helps to get the album started and away from the focus of a blank page.


so if you find yourself a bit lost as to where to begin, take some time to try this for yourself.  title pages are great starting points and enlarging photos also helps to take the creativity in a bit of a different direction with less blank space to overwhelm.  plus, it is always fun to mix and match up photo sizes every once in a while.  i have not used a larger photo in a long time, and it really helped make me see things in a new and fresh way, which i love.


0

DIY BLESSINGS GRATITUDE ALBUM

today i want to share a very simple and easy DIY to create a gorgeous interactive gratitude mini album with the heidi swapp honey and spice collection that makes a great keepsake.  whether you fill it with photos, journaling, favourite thoughts from the month or if you are hosting a thanksgiving dinner, try having your guests handwrite their gratitudes inside.  just think what a treasure this will be all filled up with the best of the best!


to create my cover, i first had my laser printer print out this heidi swapp handwritten 'blessings' freebie onto a piece of honey and spice pattern paper.  you can find the freebie here.

i laid a piece of rose gold minc foil on top and ran through my minc on heat setting 3.


always so beautiful.  i just love how this turned out for my cover.


next, find a piece of chipboard and trim to your desired size.  you can make this book any size you want....mine is just under 4x6 size.

cover the chipboard pieces with the patterned paper.


for the inside of my mini book i created a bunch of openable envelope pockets, tags and included tags from this honey and spice tag set.  this way it allows me a ton of options to add in photos, journaling and notes that i want to collect.  i also love the interactivity of it all.


using my heidi swapp we r memory keepers cinch i punched all of my inside pages.


the first step to binding a book using the cinch is to layer all of your inside pages starting with the last album page and ending with what will be your first page.


then add your album front cover face up and then the back cover on top face side down.  make sure the back of the back cover is facing your front cover because when you flip it around that will be what side you will see.


place onto the binding side of your cinch and push down.


voila! a beautifully professionally bound keepsake album ready to go.  the cinch truly is one of my most favourite tools.


and how about that minc shine?!


i love how it fits easily in the palm of my hand.


i cannot wait to fill my album up with all the things.


here in canada we have already officially celebrated our thanksgiving, but for those of you who are looking forward to celebrations this week i hope i have inspired you to make create your own version of a gratitude mini book that you can share with your family and friends.  


0

WOLF PACK I INTERACTIVE MINI ALBUM

i just love when i am able to create something with my hands from start to finish.
and when i can make that project with paper i am even happier.

a lot of times if i feel like i am in a creative rut, compiling a mini album out of a paper collection often helps to get my creative juices flowing once again.


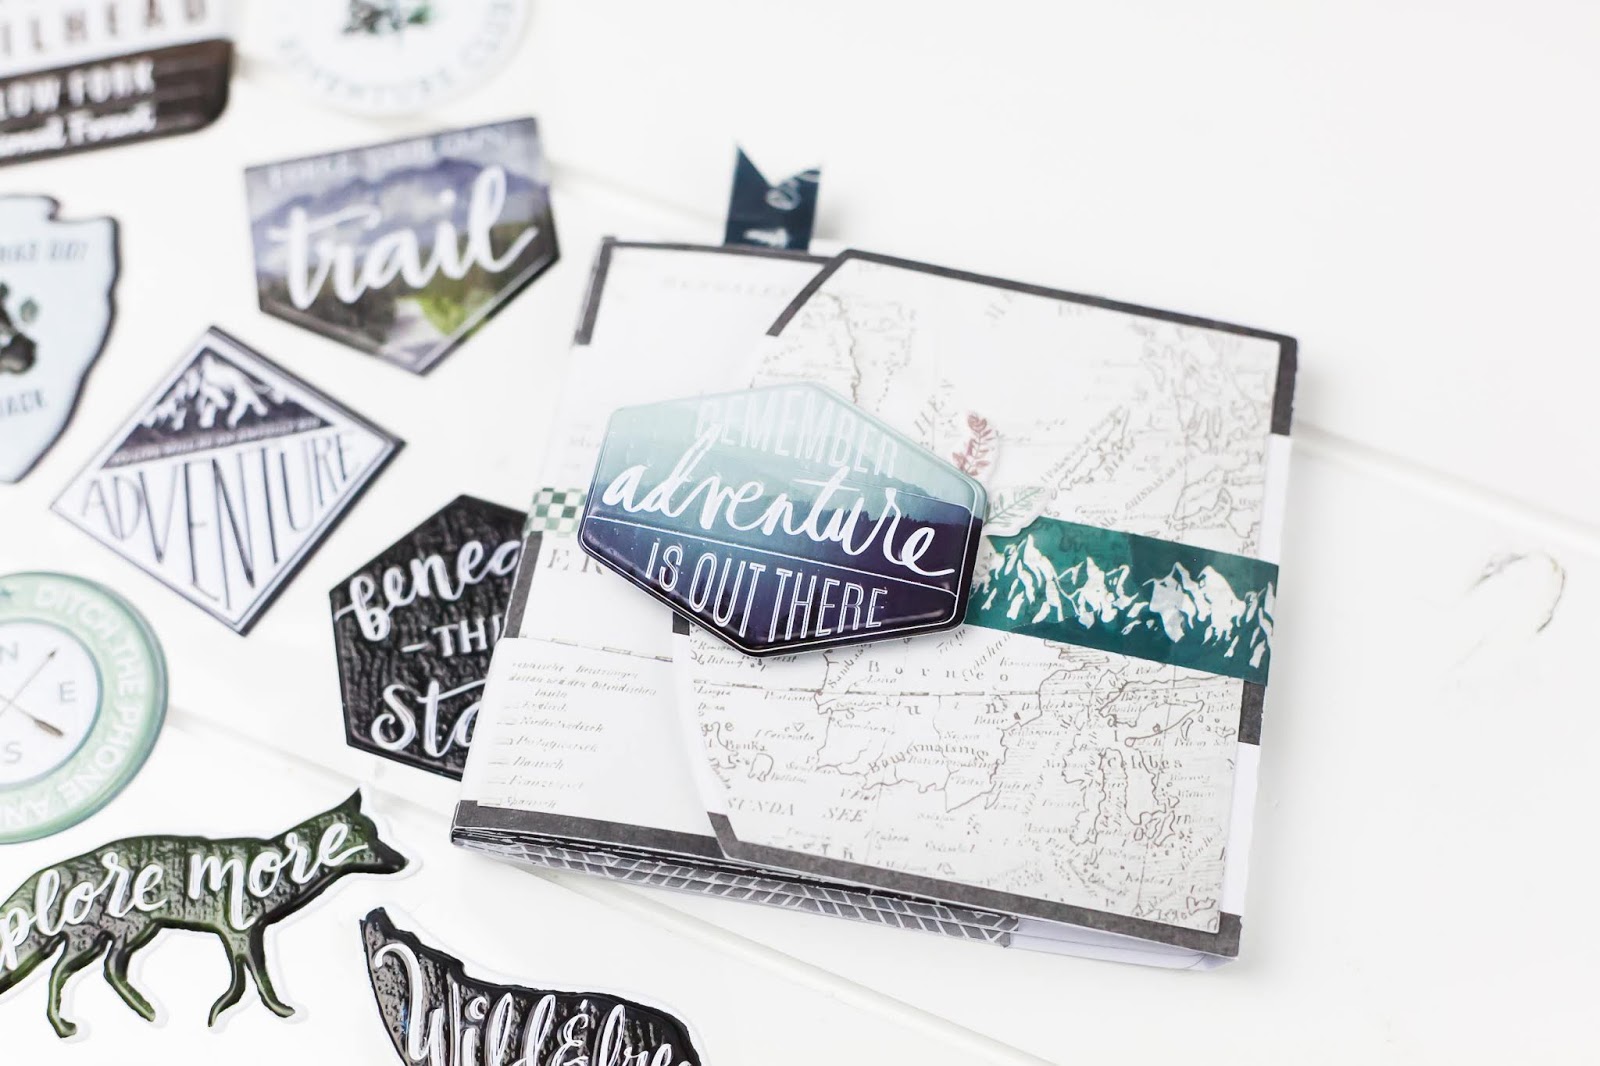
i was inspired to use the heidi swapp wolf pack collection to create a brand new mini book.  it is made entirely out of paper that i cut out from a silhouette cut file.  you can find that cut file here.  it is the pocket mini album.  


once i cut out all of the pieces of the template i followed this video tutorial to easily put together my album.

once it was compiled i happily dug into my wolf pack stash and retrieved some of my favourite washi, rub ons, stickers and embellishments and set to work.  i love the simplicity of this project and that it holds some of my favourite instax photos of my son madix who just turned 5 at the end of march.


i just adore collections and this one may just be my newest favourite.  summer is only beginning here and i cannot wait to create more memory books and scrapbook pages of our summer adventures this year.  with all the time we spend camping and being outdoors i know i will have tons of photos to document and endless stories to tell.


0

WOLF PACK I COPTIC NOTEBOOK

so i would have to say that my latest obsession of 2019 is coptic notebooks.
hands down.
LOVE them.

i made a promise to myself this year to try new things. learn something new. stretch my brain and exercise my skill set.  enter coptic notebooks.

and then when i get my hands on a new paper pack? definitely another coptic notebook is a MUST.

that being said... say hello to wolf pack.


this brand new collection from heidi swapp has my HEART.  the color palette, the patterns, the entire feel of this line is just beautiful i cannot say enough how much i love it.

i love how coptic notebooks have the ability to showcase collections and paper lines so beautifully.  this paper collection just needed to be transformed into a coptic notebook.  

now, if you are interested in learning about coptic notebooks and how to create them i HIGHLY suggest checking out this post and the attached links.  i took this class by paige evans and it is SO worth the investment in order to learn how to properly create them.  the step by step directions are wonderful and her video is excellent.  she is how i learned how to make these and i cannot sing her praises enough!  take her class! ;)

the inside notebooks of a coptic notebook are called 'signatures'.  so i chose some of my favourite patterns from the paper pad and created my signatures.  inside each signature is just blank paper but you can fill a signature with whatever you desire.


i then used the we r memory keepers book binding tool to punch both my signatures and covers.  i love this tool because it makes punching and preparing your notebooks and covers a breeze!  it's accuracy cannot be beat.  if you love making handmade bound books i highly recommend this tool. i love using mine.


here are all my prepared signatures. i love all of these patterns.


and here are my covers.  i simply covered backboard with wolf pack paper to create them. easy peasy!  i then punched the covers with my book binding tool.


and the finished product.  i added some of the gorgeous wolf pack alphas to the cover.  they are the perfect font.


i just adore all of the signatures bound together.  makes me so happy!


i love this wolf from the sticker sheet.  such beautiful art work.


be sure to check out this entire collection shipping right now!  whether it is book binding, scrapbooking, card making or general crafting you will love working with this collection so much.
it is a beauty.


0
Back to Top