
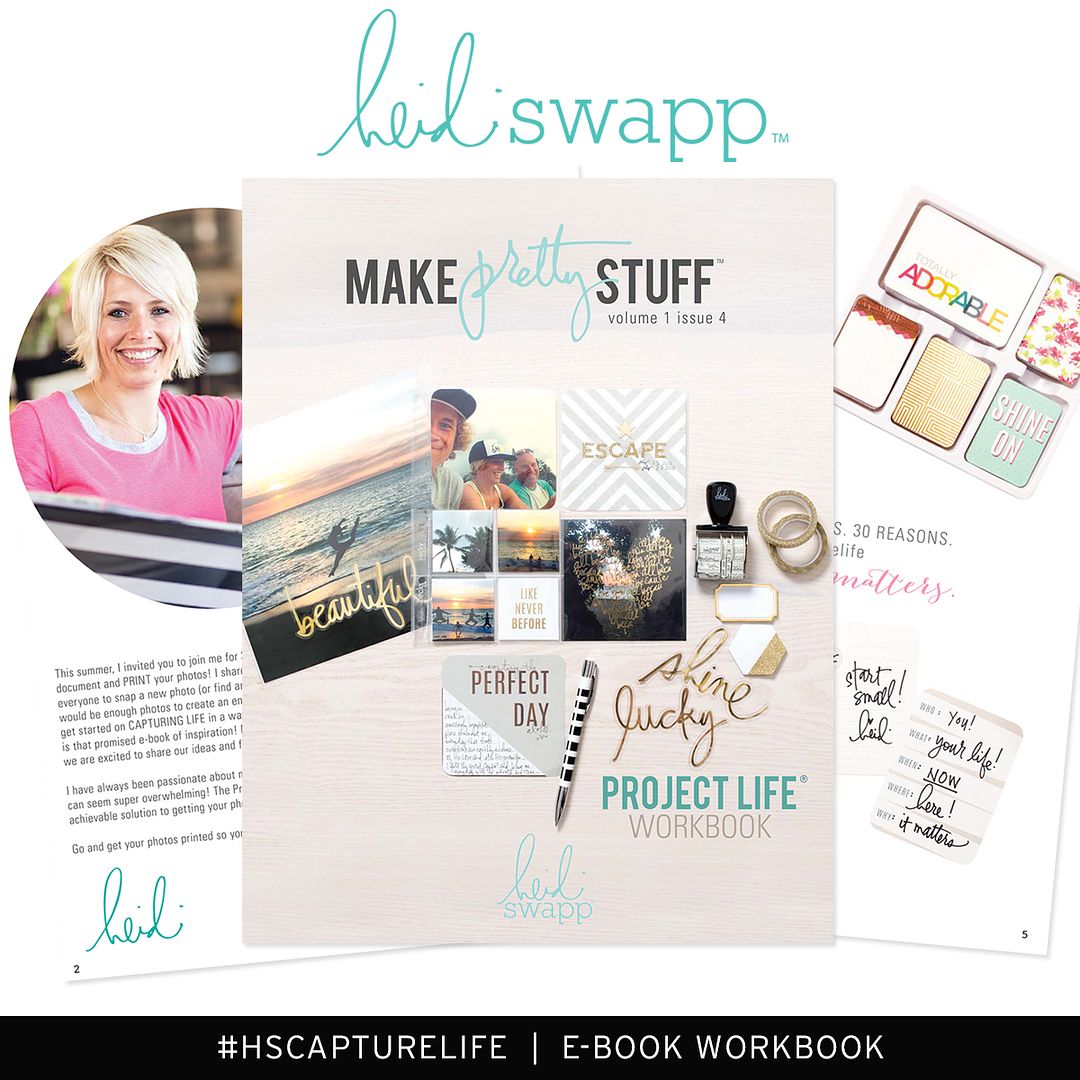
so how many of you have seen this amazing brand new value kit from heidi swapp gracing michaels store shelves? it is called the kraft and foil value kit, and it's just awesome. plain and simple.

it comes with so many wonderful pieces and if you are into mixed media and customizing your supplies, than you will really LOVE this kit. we all know that these kits are all created primarily for project life type projects and pocket pages. however, today i want to share with you a "twist" on how to use this particular kit (or any other value kit really). this idea can be adapted for any supplies you may have, and is a great way to use up your stash! ;)

what i created today out of this amazing kit (and some other little extras of course) is a fun brag book. my little (but not so little anymore) little guy is turning 18 months on the 25th of this month and to celebrate we went and spent about 20 minutes the other day just taking photos. it was nothing staged or fancy...just some candid moments of my little boy. because i ended up with so many awesome moments, i wanted a project that i could include most of the photos in. hello brag book. the perfect solution, right?!?

to create this album i used the value kit and some of my mixed media supplies. stencils, color shine (how CUTE are those mini bottles?) and some gold texture paste. these are all available right now at michaels stores and are fabulous to use with this value kit. the cards in this collection are made of the most beautiful paper that take color shine and mixed media pastes beautifully.


so are you ready for a look inside?
here is an up close and personal look inside my "brag book".

to create my album cover i used the 'hello' card from the kit. i added some gold texture paste with a triangle stencil and used the "18" that comes in the kit and mounted on top of the 'O' in hello. i love how it fits as a fun accent. i then used some of the gorgeous brand new heidi swapp washi tape on the bottom edge. hello mini hearts....love.

i primarily used the value kit to assemble and create this whole album, but you will see some of my favourite supplies from other kits snuck in here and there.

here i included a 4x4 photo and simply added a gold sticker from the heidi swapp project life collection.

the 3x4 cards in the value kit are full of fun patterns and phrases. i love this card. i added in the gold arrow sticker.

the gold foil writing on the kraft cards are stunning. here i simply added 2 photos on top.

here is a fun technique i want to share. take 2 of the 3x4 cards. layer one onto another. using a die cut card is also nice because then the pattern shows through giving some fun dimension. as an added touch use a stencil and some texture paste atop the top card. remove. now you have a fun pattern and layered card. attach a small photo and voila!

here i simply attached a photo with a gold paperclip and laid a transparent 3x4 printed card on top. i love this effect. i also added some washi on the corner of the photo.

the 4x6 cards are wonderful cards to even use just as simple matting for a photo. they come with so many great titles and captions.

i dipped into my project life stash and used one of the fun 4x4 chipboard frames. i simply punched and added to my key ring. it not only adds fun layered dimension to my album but is an interactive element as well.


here i created a journaling card, that i also added some color shine too as well as stamping. i love how the color shine makes the title 'pop'. i used this gold frame from my memory planner stash to frame my photo. i love these frames!!! still obsessed.

here i used some of the yellow color shine and mini polka dot stencil to create a fun pattern on this card. i love these cards because you can use them as sort of 'prompts' to add words or phrases (such as the sticker i did) to add more journaling and thoughts to a project.


on this card i added more stencilling with texture paste, placed some heidi swapp marquee love glitter paper behind the 'good day' die cut and added some photos that i punched with my circle punch. seriously there are so many possibilities with customizing these wonderful cards.


these wonderful words are SO much fun to pair up with this quote card from the kit. here i used the blue and yellow color shine to create this fun blue green color. i then simply used my sewing machine to stitch them onto the 4x6 card. i added some additional stickers and washi to finish it off.

one last fun technique i used in this album are these stars i created. i took a blank 4x6 card and used my star punch to punch out stars. i then added color shine to them and then used my tiny attacher to attach them in layers to my book. this is such a simple way to make your own embellishments from these kits and a great way to use up cards that you may have multiple of.

a last look into my final pages...


i love how this kit comes with so many wonderful numbers.

i hope you enjoyed this little "twist" on using this fabulous value kit and mixed media supplies.

they are so addicting to create. ;)
hope you get your hands on one of these amazing value kits and create a little brag book for your own.
supplies: project life kraft and foil value kit; project life color shine; project life gold stickers; project life stamps; project life watercolour words; washi tape pack gold


oh lindsay...so so sweet. you made this so beautiful and so keepable!! i just want to squeeze him!!! thank you for sharing.
ReplyDeletejust gorgeous Lindsay !!!!!
ReplyDelete