Showing posts with label minc tutorial. Show all posts

TIME TO SHINE WITH THE MINC I HALLOWEEN LAYOUT DIY EMBELLIES

i always love to incorporate my heidi swapp minc into a variety of projects, but never is it more fun or fitting then when it comes to holiday and festive type projects.  the minc just adds such a beautiful touch to any project and aside from christmas...i think halloween has to be my second favourite for sure.  but wait...valentines is ALSO in there hands down. i think i just love them all haha.


for this particular project i thought it would be fun to use my minc to create some diy foiled embellishments for a layout.

my first step was to die cut some bats.  this can be done in a variety of ways... if you have a hand held die cutting machine, punch or electronic cutting machine.  i used my electronic cutting machine this time around and used the toner paper from this minc surface paper pad to cut out my bats.  the reason i did it this way is so that i can transform them with foil.  remember toner reacts with the heat reactive foil which will allow me to add that signature minc shine.


once i had them cut out i removed them and placed them in my transfer folder and laid my color foil on top.  


i chose some beautiful and festive orange, holographic silver and black for this color scheme. perfect for the halloween theme.


the transformation honestly never gets old. i just love how easy it is to create something that looks so hard to do! or that it took alot of time. literally this took me 2 minutes. and it is fab!


the bats and title are so fun paired with this grungy art walk paper and the stamping.  simple, yet festive.  just my kind of project!


halloween can always use some extra glam...no matter what! 


i hope you are inspired to whip out your minc and incorporate it into some of your halloween documenting or decor this year.  it is the perfect tool for layouts, cards, decor...whatever your heart desires.  it is always time to shine when it comes to the minc and it looks so good each and every time!

0

DIY CAKE TOPPER HOW TO I MINC PROJECT PAD

today i want to share a little "how to" on how easy it can be to create a custom foiled cake topper for a special occasion you may have coming up this summer.

i was lucky enough to be asked to help out a fellow friend with the graduation celebration of her niece, and i knew exactly what i could do for her!

the plan was that she needed a graduation cake topper.
immediately my mind went straight to my electronic cutting machine and heidi swapp minc!
let the magic begin!

step 1.  enter the minc surface paper pad.
what is fabulous about this paper pad is that in one pad, there are 3 different surfaces that work with the minc in order to achieve beautiful foiled projects.  there are toner sheets, vellum sheets and glue sheets.

for my cake topper, i began by cutting out a graduation design from the silhouette design studio using my cutting machine.  i cut out the design from the black toner paper. 


my silhouette cut out the design just beautifully out of the black toner paper.  remember, the black toner paper is completely reactive to the minc heat reactive foil.  what is all black will be covered in foil once run through my minc.


nothing speaks graduation more perfectly than minc gold star foil.  this new foil release has to be one of my favourites and was truly the perfect choice when creating my cake topper.


and for the big reveal.  who does not love a beautiful pull back image of minc magic?
it is just stunning each and every single time.
truly never gets old.


i really love how beautiful this project turned out.
when my friend sent me this beautiful photo of her cake complete with the graduation foiled 2020 on top, it made me so very happy!

i know for many this year graduation celebrations took a much different turn this year.  

nonetheless everyone still chose to enjoy, honour and celebrate their graduates the best way they could!  i am really happy that i could help out in some small way.

what an absolutely beautiful cake!


my biggest congratulations to all the incredibly resilient 2020 graduates!
0

MINC I DIY TECHNIQUE WITH A DIMENSIONAL BUTTERFLY CUT FILE

the MINC never ceases to amaze me with what i can create with it.
just when you think that you have run out of ideas i find more come along that i want to try out and see.
i love the trial and error when it comes to creativity as i find that is when some of my most favourite projects emerge and techniques appear!


this latest technique may just be my newest favourite!
i used the crate paper maggie holmes sunny days collection for this project.
to begin i used this butterfly cut file from paige evans off the silhouette design store.
the fun part about this particular cut file is that it is a 3-dimensional cut file so the butterflies are only 3/4 cut.  you simply fold up the wings and you have a beautiful 3D cut file background design. so fun!

using my minc and the minc reactive mist i thought to take this cut file one step further.
using this minc fan paint brush i lightly applied some of the medium to the butterfly wings.
i have no plan here....just lightly brushing the wings with the brush so that i can add a beautiful foiled effect to my butterflies.


you can see below how the medium looks on the wings. remember they will be foiled once the medium fully dries.  the trick here i found is less is more. you do not want it super thick or goopy. just a light brushing is all that is required.


next up pick your MINC toner reactive foil.
i love this silver holographic.


run your project through the minc on heat setting 3.


and voila!
my most favourite part of the minc is to always gasp at the ever so beautiful results!!!
i love this mixed media foiled effect!
just how i imagined it....but better :)


you can see how gorgeous the minc detailing looks once the wings are popped up.  i just adore this!  (note: because the cut files are semi open because of the 3D cut, i simply backed my paper with another piece of coordinating patterned patter to my layout).


i finished off the rest of my layout adding in some additional butterflies and embellishments all from the crate paper maggie holmes sunny days collection and crate paper sticker book.


this is definitely a technique i will be using again and again!  


be sure to try this out for yourself. i know you will love it as much as i do and it is SO easy!


happiest crafting friends!


0

COLOR FRESH & MINC I MIXED MEDIA SCRAPBOOK LAYOUT

today i am sharing my latest layout with you all.
i created this fun 12x12 page using a few 'mixed media' type techniques involving my minc machine.
i love using my minc machine, especially when it comes to experimenting with projects!

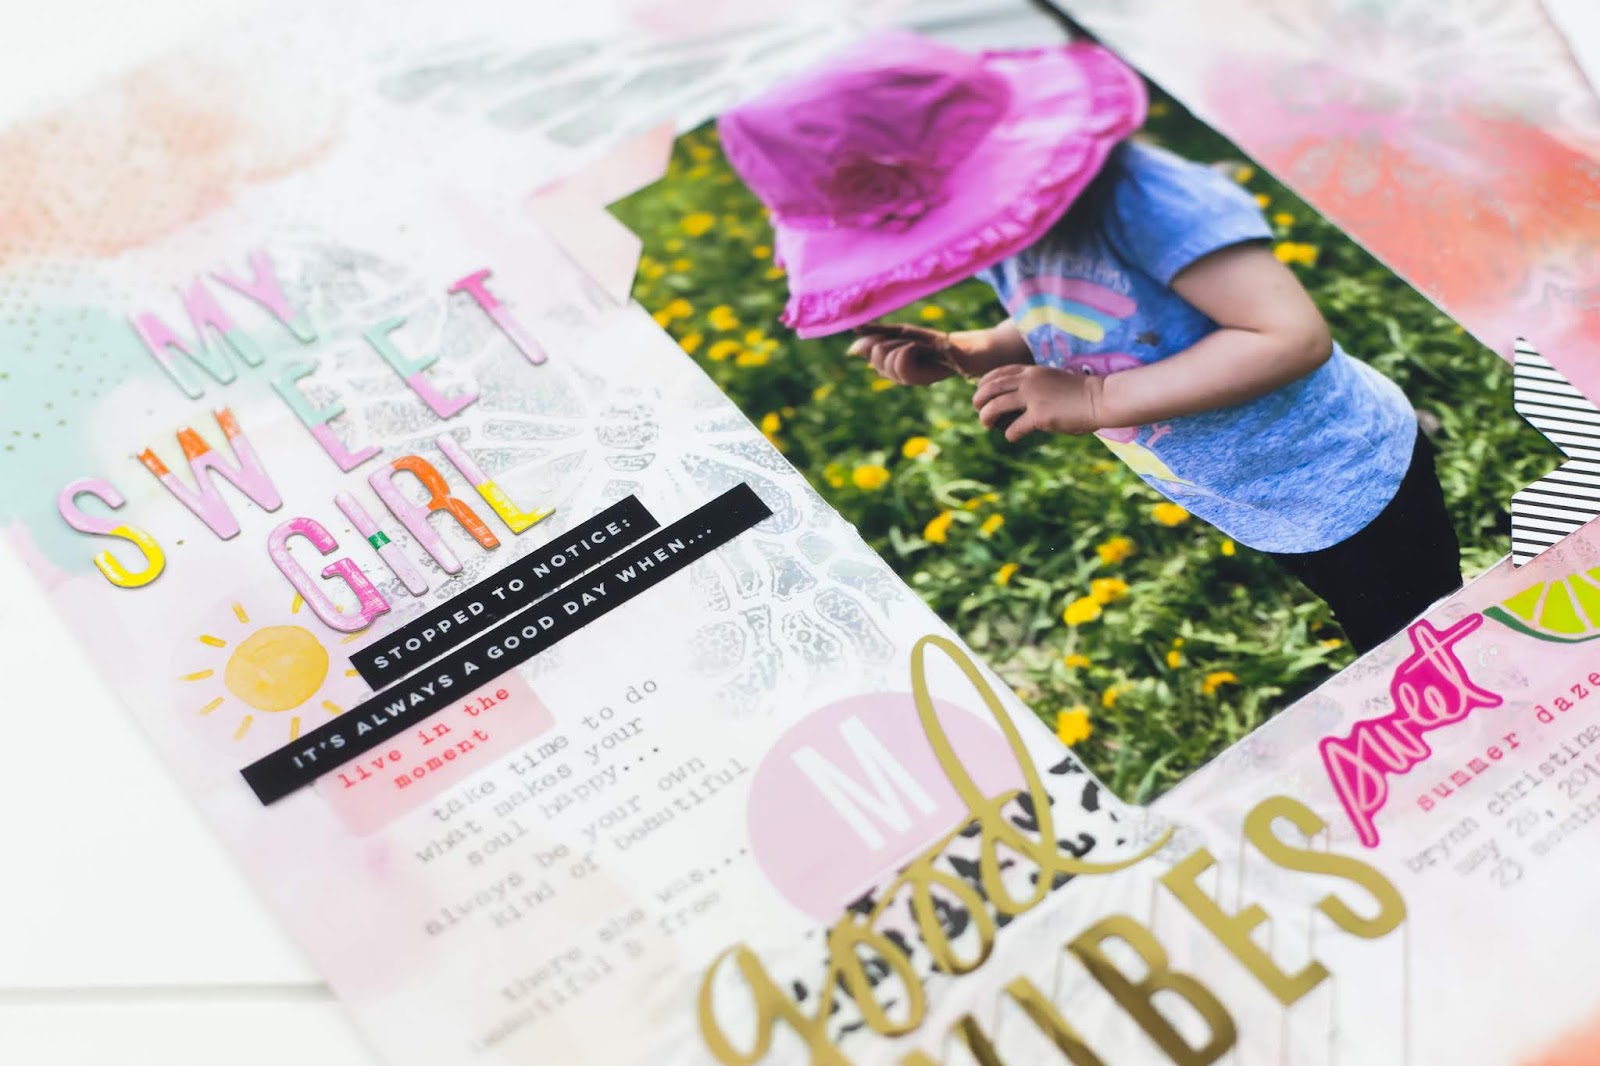
for this page i wondered to myself what would happen if i took a cut file (this is a paige evans butterfly silhouette cut file i cut out of scrapbook paper using my silhouette machine), some minc reactive mist which i applied on top of the cut file with a generic make up applicator sponge.


to do this technique open your reactive mist and pour a small amount onto a craft plate.


take your sponge and apply a small amount to the sponge.  not too wet, just enough to apply a nice even layer onto your paper.


dab the sponge on top of the cut file.

the idea is you are wanting the reactive mist to provide a stencilled image once the paper cut file is removed.

 it is important that you do this technique quickly and efficiently otherwise i found my paper cut file wanted to "stick" to my background page as the mist dried.

you do not want to use a lot of mist when applying your sponge onto the cut file...less is more i find and when using less it takes a lot less drying time.

so be sure to be quick so it does not stick!


once my page was fully dried (very important!) i ran it through my minc machine on heat setting 3 using this gorgeous new silver holographic foil.


once i removed the foil and transfer folder you can see the gorgeous design that was created!  a subtle holographic design of the butterflies.  i really love how it turned out!  its subtle yet eye catching.


now to finish my page!


i added all elements of the heidi swapp color fresh paper collection to create my page and added on my type text journaling using my we r memory keepers typecast.


i used this super adorable 12 x 12 good vibes transparency paper as an over lay on top of my page.  it really looks awesome over top the minc'ed butterflies!


i am super happy with how this page turned out and i love the overall vibe.
the minc is such a great tool to use when wanting to add subtle and/or bold techniques to scrapbooking pages.  it certainly was a super easy technique and i will definitely be trying it out on other pages of mine in the future.  it sure will be fun to see how this concept looks when using other colors of foil.


be sure to check out all things heidi swapp minc and color fresh right now!
they truly make the perfect creative collab xo.

0

HEIDI SWAPP I 3 WILD MINC TECHNIQUES CLASS

playing with different techniques and my heidi swapp minc has always been a favourite way to play and stretch my creativity.

there are so many endless creative possibilities when it comes to the minc and i always love to learn new ways, methods and "tricks" to add these fun and interesting elements to my paper crafting projects.

that is why today i am SUPER excited to share 3 of my favourite minc techniques with you!


right now you can access my FREE online educational class here.
with a complete supply list, photos, and start to finish video tutorial you will learn the following:

*how easy it is to use art screen ink with acrylic stamps to create a foiled stamped image
*how to use a glue pen and foil flakes with a stencil to add some fun background details to a layout
*how to add foil (without a minc machine) to double sided alphabet stickers

and trust me when it comes to the minc this is just the START of what you can accomplish with this fabulous tool!


what is even better is i utilized all of these techniques to create a STORYLINE scrapbook page.
how fun is that?!


can you spot all of my techniques?!
can't wait to see you in the classroom...we are going to have so much fun! :)


0
Back to Top