
today i want to share my june 2019 month at a glance memory planner page with you.
i also want to share some game changing information as well.
but first...question.
do you ever get frustrated when you get your hands on a fabulous new crafting product but it just never seems to work for you?
well...that has been me for SO long!
i hate to admit it but it is 1000% true.
first off...i love working in my heidi swapp memory planner.
like LOVE IT.
i also love adding photos...
so when i got my hands on the heidi swapp photo sticker sheets my excitement could not be contained.
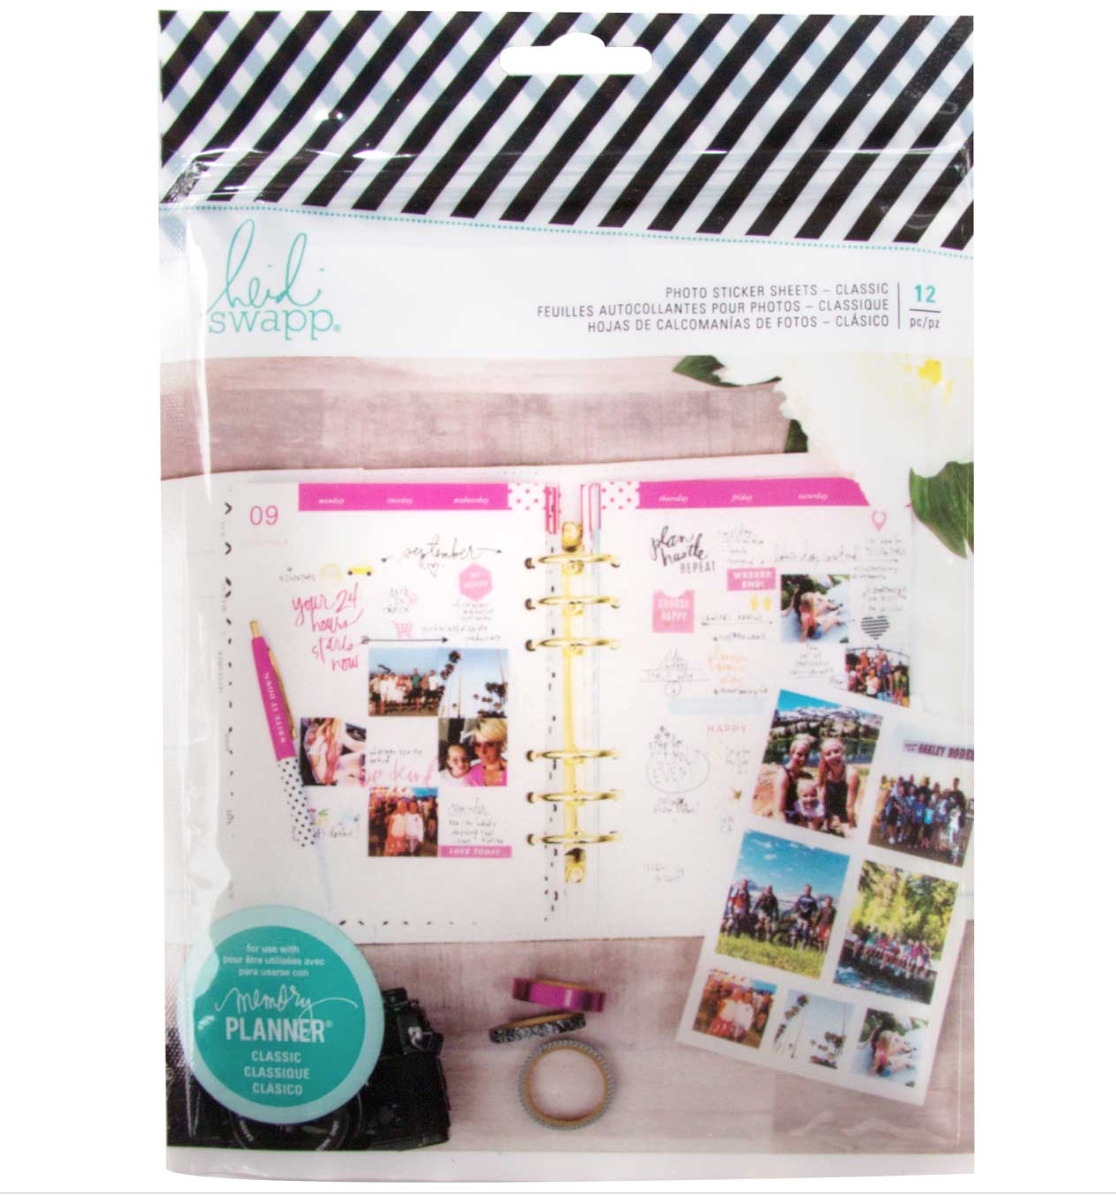 they are made to fit the templates of the planner so that you basically just print your photos on the photo sheets and because they are STICKER PHOTO SHEETS you are able to pop them right in...no adhesive required!
however...for the longest time i could NOT get them to work properly for me.
i was super bummed.
BUT....thankfully the other day heidi swapp and her daughter did an amazing step by step tutorial on instagram stories that solved my issues and changed the game for me entirely.
so....i thought i would not only share my brand new monthly spread but i would also outline their steps so that you could have a reference if you have been curious, or had the same issues as me OR would just love to learn something that is so fabulous, fun and EASY!
ok...let's go!
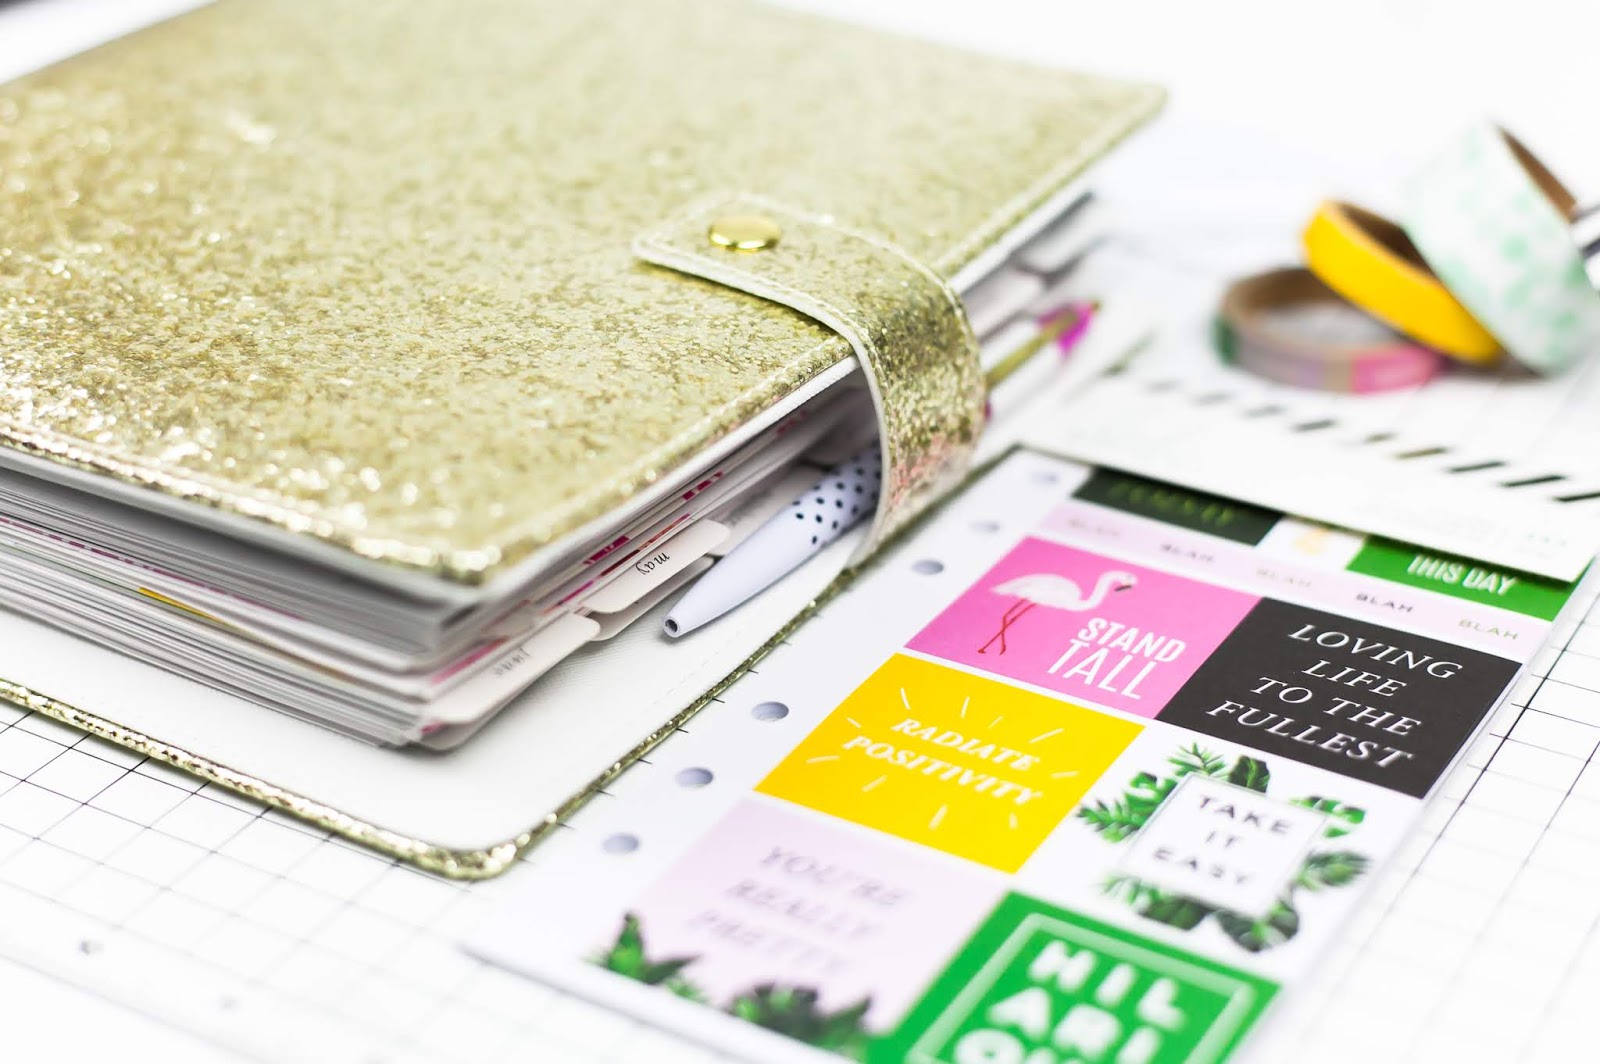
so this is the planner i am using.
you can find this planner right now at joann stores and joann online in the heidi swapp boutique aisle.
i love working with the 6x8 size myself and for this post i am using the 6x8 classic size photo sheets (but there are also personal size photo sticker sheets that work fabulous in the classic size planner too....personally i love to mix and match all the photo sizes in all of my different sized planners).


photos are such a fun way to not only memory keep and "highlight" but they look so awesome gracing the dates of the calendar.


the templates fit the calendar perfectly and i just love it!
OK...so let's talk printing the photos.
to begin you will need to read through these instructions.
***my tutorial here is showing how to use these templates with the PAGES APP on my iPhone ONLY (not the photoshop method) . so you will need to refer to the pages instructions only...not the photoshop ones if you are wanting to do it the way i am doing it on my phone and in this tutorial***
Step 1: Open your desired template in the pages app and you will see this screen come up.

Step 2: Touch the photo square you are wanting to insert a photo into first. You will see boxes appear to show your desired box.

Step 3: Touch the paintbrush tool on the top screen and on the bottom of your phone you will see the 'replace' option. Choose that and then your albums will pop up allowing you access to your camera roll.

Step 4: Open your camera roll and choose your desired photo

Step 5: Your photo will appear in the box that had the blue dots around it. Repeat the same steps over for each box.


Step 6: Once all the boxes are filled you can print! Touch the 3 dots in the top right hand corner and it will bring you to another screen.


Once you select your printer the print button will highlight (in top right hand corner) and your photos will be yours!

I use the Epson PM-400 printer and LOVE IT. Highly recommend! however these photo sticker sheets will work with any printer that prints a 5x7 sticker sheet size.
I hope you try out this method as it really helped me SO SO much! Before I could never get the photos to print and/or work the template as easy as this! this literally has changed everything for me and has sped up the photo printing process ten fold. i am SO grateful and i never realized how easy it was to use these photo sticker sheets till now!


thank you Heidi and Quincy for bringing this much needed conversation to life!
remember everything i shared here (excluding printer) can be found right now at joann stores and joann online!


No comments