Showing posts with label foil all the things. Show all posts

MERRY & BRIGHT I DIY MINC HOLIDAY GIFT TAGS

in the spirit of the season, and that it is monday...i thought it would be fitting to showcase just how amazing the heidi swapp minc has been for me this holiday season.


this tool and technique has the ability to create such gorgeous and professional looking projects with such ease...it blows my mind every time!

i created the basis of my tags using this heidi swapp noel digital handwritten kit.  it is full of her handwritten words that you can print out, add to projects digitially, or cut out with electronic cutting machines. it really is endless what you can do and create with digital files.

for this project i chose to print out the digital designs onto white smooth card stock and vellum.  the vellum i used is from the minc surface paper pad, which i also used in another way that i will be sharing in this post.  it is a FABULOUS minc tool and one of my favourite products to use with my minc.


as you can see the images look so beautiful when transformed with foil. and every colour and style is truly limitless as to the beautiful projects you can create.


another super fun technique with the surface pad is using the toner paper with metal dies.


metal dies are an amazing investment because they are so easy to use, last forever and can be made to fit so many different projects.  i love these foliage dies, i have used them so much over this last year since i purchased them and when you foil them....it is stunning.  my plan with these is to layer them on my tag for some additional texture, dimension and shine.


i am using a red foil, and the silver start foil on them to mix up the effects.


placing them through the minc and ready for the reveal.


and voila! layer and piece together on tags and pennants to create beautiful custom diy holiday greetings for all of your gifts, cards and packages this year.  truly one of a kind.


i love the peppermint vibes. xo

happiest creating everyone.


0

STORYLINE & FOIL QUILL I SCRAPBOOK PAGE


well i could NOT be more in love with my latest heidi swapp storyline scrapbook page!
i just love when products fuel fresh and new creative life into previous ones and this project definitely has my creative juices flowing in overdrive!


this is the heidi swapp foil quill usb drive.  on it are TONS of incredible designs and artwork that through your electronic die cutting machine can be "sketched" onto your projects using the we r memory keepers foil quill system. if you are new to the foil quill system you can learn more about it here.


ahh i thought to myself...how FUN would that be to add a foiled title onto my latest storyline page?  i immediately set to work and this is what i created.  i just LOVE it so so much!


i then dove into my stash and added in a few fun extras from the heidi swapp Color Fresh collection.  stickers from the sticker pad, a favourite patterned paper and some additional journaling via my we r memory keepers typecast.  cause you KNOW i love my typecast for story telling!


the foil quill system comes with 3 different sized "tips" and for this title i decided to use the fine tip pen.  personally this one is my favourite. the smooth beautiful foiled application of this title is seriously amazing.  you would honestly never think it was created at home it looks that professional!


if you love creating scrapbook pages, telling stories AND trying new ways to collaborate and use your supplies together i highly recommend this technique.  SO easy to do, yet the results are mind-blowing!  be sure to check out all of the products i used in my page today right now at JoANN stores and JoANN online.  i just love them all so much and i know you will too.


0

STATIONERY I MINC @ JOANN

so attention attention....cute product alert!

 
if you have been to your local joann store lately then you have seen the gorgeous new heidi swapp boutique V2 gracing the store aisles.

part of this hsboutique v2 release are brand new stationery card sets.
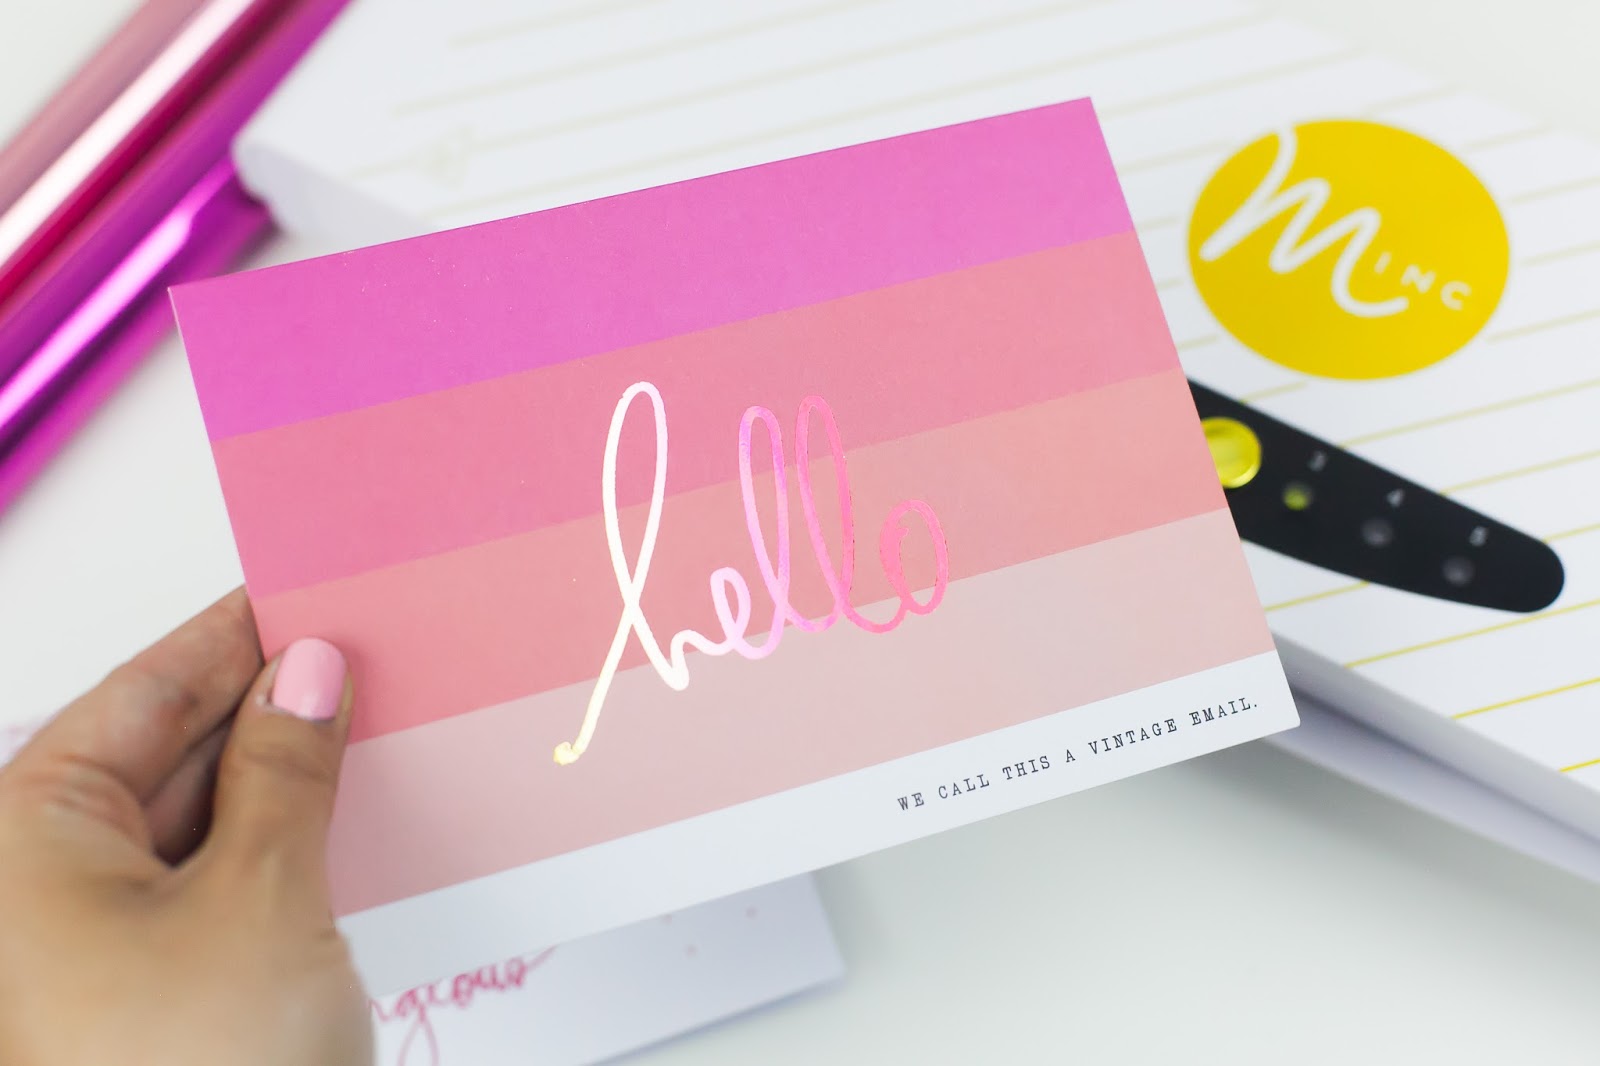
however, what makes these stationery cards a bit more extra special is the ability to now run them through your MINC machine so you can now customize and add foil detailing.


i am obsessed with the pink foils especially lately.  the pink, hot pink and rose gold foil are currently at the top of my must have list.  but let's be real....ALL of the foil are on my must have list.  the more shine the better.  or as we love to say #foilallthethings!


i wanted to do a little step out demo on this card set.
one thing i love about this card set specifically is that it does not need a special occasion.
it is just an adorable, everyday random act of kindness surprise that you can send to that special girl friend in your life!
honestly who does NOT love adorable snail mail nowadays?


when you open this card you can see that it comes already designed.
so just a note that if you do not own a MINC you can definitely still purchase these card sets because they are perfect with or without the MINC.
however...let me show you just what happens when you add a little MINC magic.


i chose to use the rose gold foil on this card.


i simply trimmed a piece of foil off of my roll.  i then placed the foil on top of the card (with the card design facing up) and then slipped it into a transfer folder which will then feed through my MINC applicator machine.


once i feed my card through, i simply take it out of the transfer folder and can remove the foil immediately.  it does not require any drying time nor is it hot to the touch.  completely ready to go!


you can see as i start to remove the foil, the card takes on a whole new look!


talk about that shine.  it just NEVER gets old.  and looks amazing.


below i used the same technique on the other card that comes in this set.


you can see that on this card the confetti is what is transformed.  i love that i can literally make this confetti ANY color.  it's just too adorable for words.


hello gorgeous is RIGHT!
remember, you can find this card set (and MUCH MORE) right now at select joann stores and joann online!


1

DIY LAMINATED PHOTO FOLDER - A TUTORIAL

adding photos into my memory planner is always an absolute MUST.
however, at the same time i am always looking for fresh, fun and neat ways to do so.  it's nice to have the options to switch things up when i can.
today on the heidi swapp blog i am sharing a basic step out tutorial showcasing just how easy it is to create a laminated photo divider for your planner.


yes!  a photo divider! and yes! it's laminated!  how cool, right?!?
these lamination folders are brand new to the MINC family.  they are perfect for incorporating into your memory planner.  you can foil them, laminate them....and then hole punch them and add them into your planner so easily.


for my tutorial i am showcasing how i am able to add 12 2x2 photos onto the back of the divider to create a gorgeous dual purpose "photo" divider.


what begins as this...


turns into that!
a gorgeous photo collage that is laminated for extra protection and durability.  plus...look at all of those memories!


so be sure to stop by heidi swapp's blog today to see just how easy it is.  i hope you create one for your own memory planner.  your memories and photographs will love it!


2

MINC MEDIUMS: TIME TO PLAY

the brand new MINC mediums have stolen my heart.
if you have not yet heard the news...heidi swapp has released 3 brand new products that are made to work with her amazing MINC foiling machine.
these mediums are in the form of a reactive paint, reactive mist and reactive art screen ink.
with these mediums, one is able to apply foil to projects in more ways than ever before.
today i am up on heidi's blog to share just how incredible these mediums are with a simply breakdown tutorial and demo using these new MINC kits.


these MINC kits are not only fabulous (in and of themselves) but they are an amazing learning tool when working with the various mediums.  they come jam packed with a ton of really cute tags, die cuts, file folders and embellishments that work amazing for all types of paper projects.


it is amazing to experiment with the various reactive mediums using different application methods (ex. paint brushes, art screens, stencils) to see what you can achieve.


it really is brilliant once you apply the reactive foil to the mediums.


your jaw will drop.  the foil finish gives the most incredible results.  i am obsessed.
today on heidi's blog i share a step by step breakdown video tutorial showing just how easy these mediums are to use and apply.  be sure to check it out.  you will fall in love.


i took things one step further and chose to use some of these altered kit pieces, and the mediums to create my newest layout.


i loved playing with the mediums to create this gorgeous background.  hard to believe it was once a simple white sheet of bazzill cardstock!


the enjoy life minc kit is amazing. 
i hope you are able to get your hands on one, some of the mediums and just let your heart PLAY.


so be sure to head on over to heidi's blog today for a full breakdown on these amazing new products. you are going to fall so head over heels in LOVE.

0
Back to Top